Introduction
Installing a doorbell camera is a great way to enhance the security of your home. With a doorbell camera, you can monitor who is at your doorstep and keep an eye on any suspicious activities. While professional installation is an option, many homeowners prefer the DIY route to save money and have more control over the process. In this article, we will provide you with some useful tips to help you successfully install your own doorbell camera.
1. Choose the Right Doorbell Camera
Before you start the installation process, it’s important to choose the right doorbell camera for your needs. Consider factors such as video quality, motion detection capabilities, night vision, and compatibility with your existing doorbell system. Read reviews and compare different models to make an informed decision.
2. Gather the Necessary Tools
Make sure you have all the necessary tools before you begin the installation. This may include a screwdriver, drill, wire stripper, voltage tester, and a ladder if needed. Check the manufacturer’s instructions to see if any specific tools are recommended for your particular doorbell camera.
3. Turn Off Power
Prior to starting any electrical work, it’s crucial to turn off the power to your existing doorbell system. Locate the breaker or fuse that controls the doorbell circuit and switch it off. Use a voltage tester to ensure that the power is indeed off before proceeding.
4. Remove the Old Doorbell
If you have an existing doorbell, you will need to remove it before installing the new doorbell camera. Start by unscrewing the faceplate and disconnecting the wires. Take note of how the wires are connected, as you will need to reconnect them to the new doorbell camera later.
5. Mount the Doorbell Camera
Follow the manufacturer’s instructions to mount the doorbell camera securely. Most doorbell cameras come with a mounting plate that needs to be attached to the wall or door frame. Use a level to ensure that the camera is straight and aligned properly.
6. Connect the Wires
Once the doorbell camera is securely mounted, it’s time to connect the wires. Strip the ends of the wires if necessary and attach them to the corresponding terminals on the camera. Double-check that the wires are securely connected to prevent any loose connections.
7. Configure the Settings
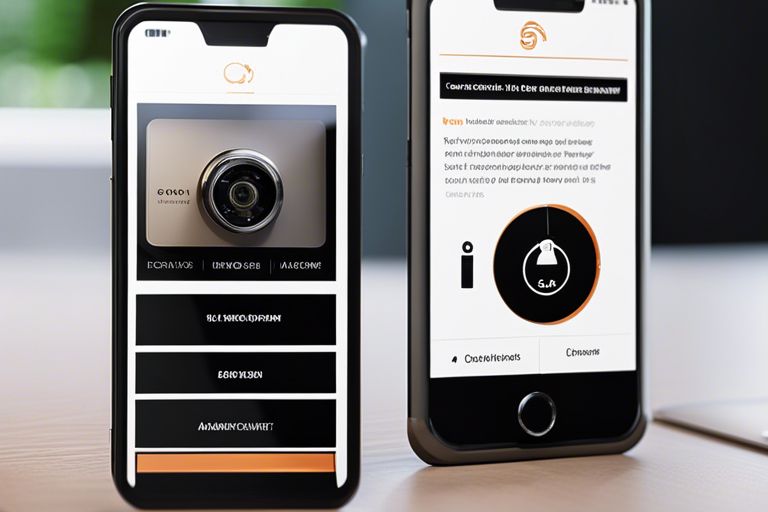
After the physical installation is complete, you will need to configure the settings of your doorbell camera. This may involve connecting it to your home Wi-Fi network, setting up motion detection zones, adjusting video quality, and customizing notification preferences. Refer to the user manual or the manufacturer’s website for detailed instructions on how to set up your specific doorbell camera model.
8. Test the Doorbell Camera
Before considering the installation complete, it’s important to test the doorbell camera to ensure that everything is functioning properly. Press the doorbell button and check if you receive a notification on your smartphone or if the camera starts recording. Walk around your property to test the motion detection capabilities and make any necessary adjustments to the settings.
Conclusion
Installing a doorbell camera can provide you with peace of mind and added security for your home. By following these DIY installation tips, you can successfully set up your own doorbell camera and enjoy the benefits of enhanced home security. Remember to always prioritize safety and consult the manufacturer’s instructions for any specific guidelines related to your doorbell camera model.


