Introduction
A WiFi doorbell camera is a great addition to any home security system. It allows you to see and communicate with visitors at your front door, even when you’re not at home. In this step-by-step guide, we will walk you through the process of installing a WiFi doorbell camera.
Step 1: Gather the necessary tools and materials
Before you begin the installation process, make sure you have all the necessary tools and materials. Here’s a list of what you’ll need:
- WiFi doorbell camera
- Screwdriver
- Drill
- Mounting bracket
- Screws and anchors
- Wire connectors
- Wire strippers
- Power drill
Step 2: Choose the right location
Next, you’ll need to choose the right location for your WiFi doorbell camera. Ideally, it should be placed near your front door, at a height that allows for clear visibility of visitors. Make sure the location has a strong WiFi signal to ensure a reliable connection.
Step 3: Install the mounting bracket
Using a screwdriver and drill, install the mounting bracket for your WiFi doorbell camera. Follow the manufacturer’s instructions for the specific model you have. Make sure the bracket is securely attached to the wall or door frame.
Step 4: Connect the wires
Next, you’ll need to connect the wires from the WiFi doorbell camera to your existing doorbell wiring. Start by turning off the power to your doorbell at the circuit breaker. Then, remove the cover of your existing doorbell and disconnect the wires.
Using wire strippers, strip the ends of the wires from your WiFi doorbell camera. Connect the corresponding wires together using wire connectors. Make sure the connections are secure and insulated.
Step 5: Mount the WiFi doorbell camera
Now it’s time to mount the WiFi doorbell camera onto the mounting bracket. Carefully align the camera with the bracket and secure it in place using the provided screws.
Step 6: Set up the WiFi connection
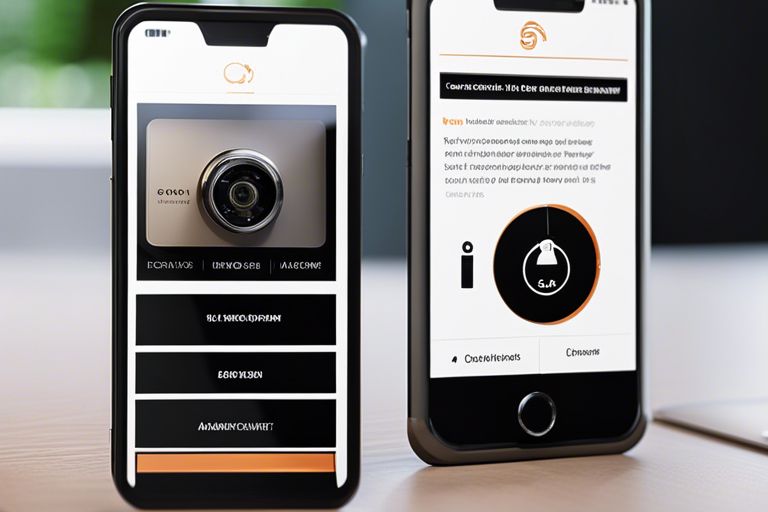
Once the camera is mounted, you’ll need to set up the WiFi connection. Follow the manufacturer’s instructions to connect the camera to your home’s WiFi network. This usually involves downloading a mobile app and following the on-screen instructions.
Step 7: Test the camera
After the WiFi connection is established, it’s important to test the camera to ensure it’s functioning properly. Use the mobile app to check the live feed and test the two-way audio communication. Make any necessary adjustments to the camera’s position or settings.
Step 8: Enable additional features
Many WiFi doorbell cameras come with additional features, such as motion detection or cloud storage. Take some time to explore the camera’s settings and enable any features that are relevant to your needs.
Conclusion
Installing a WiFi doorbell camera is a relatively simple process that can greatly enhance your home security. By following this step-by-step guide, you’ll be able to enjoy the convenience and peace of mind that a WiFi doorbell camera provides.
Remember to always refer to the manufacturer’s instructions for your specific model, as the installation process may vary slightly. If you’re unsure about any step of the installation, it’s always best to consult a professional.


